




Update Location
Enter a ZIP code to get product recommendations and information tailored to your area.

Every bag of Scotts product tells you exactly what number to set your spreader to, but knowing why that number matters, and confirming your spreader is actually applying the right amount of product for that number, is what keeps you from burning your lawn or wasting product on light, uneven passes. Getting this right isn’t just about a better-looking yard: a spreader set too high wastes product and can wash excess into storm drains instead of feeding your grass, while one set too low won’t give your lawn the coverage it needs. This guide covers how settings work, how to calibrate your spreader, and what affects the dial setting.
Quick Takeaways
The dial on your spreader works like a faucet: it controls how wide the gate at the bottom of the hopper opens, which determines how much product flows out as you walk. A higher number opens the gate wider and releases more product per pass.
Here’s the part that trips people up: these numbers are relative to each spreader model; they are not universal. A “5” on one Scotts spreader doesn’t release the same amount of product as a “5” on a different brand or even a different Scotts model, which is exactly why the product label, not the dial number alone, is always your source of truth.
Broadcast (Rotary) Spreaders
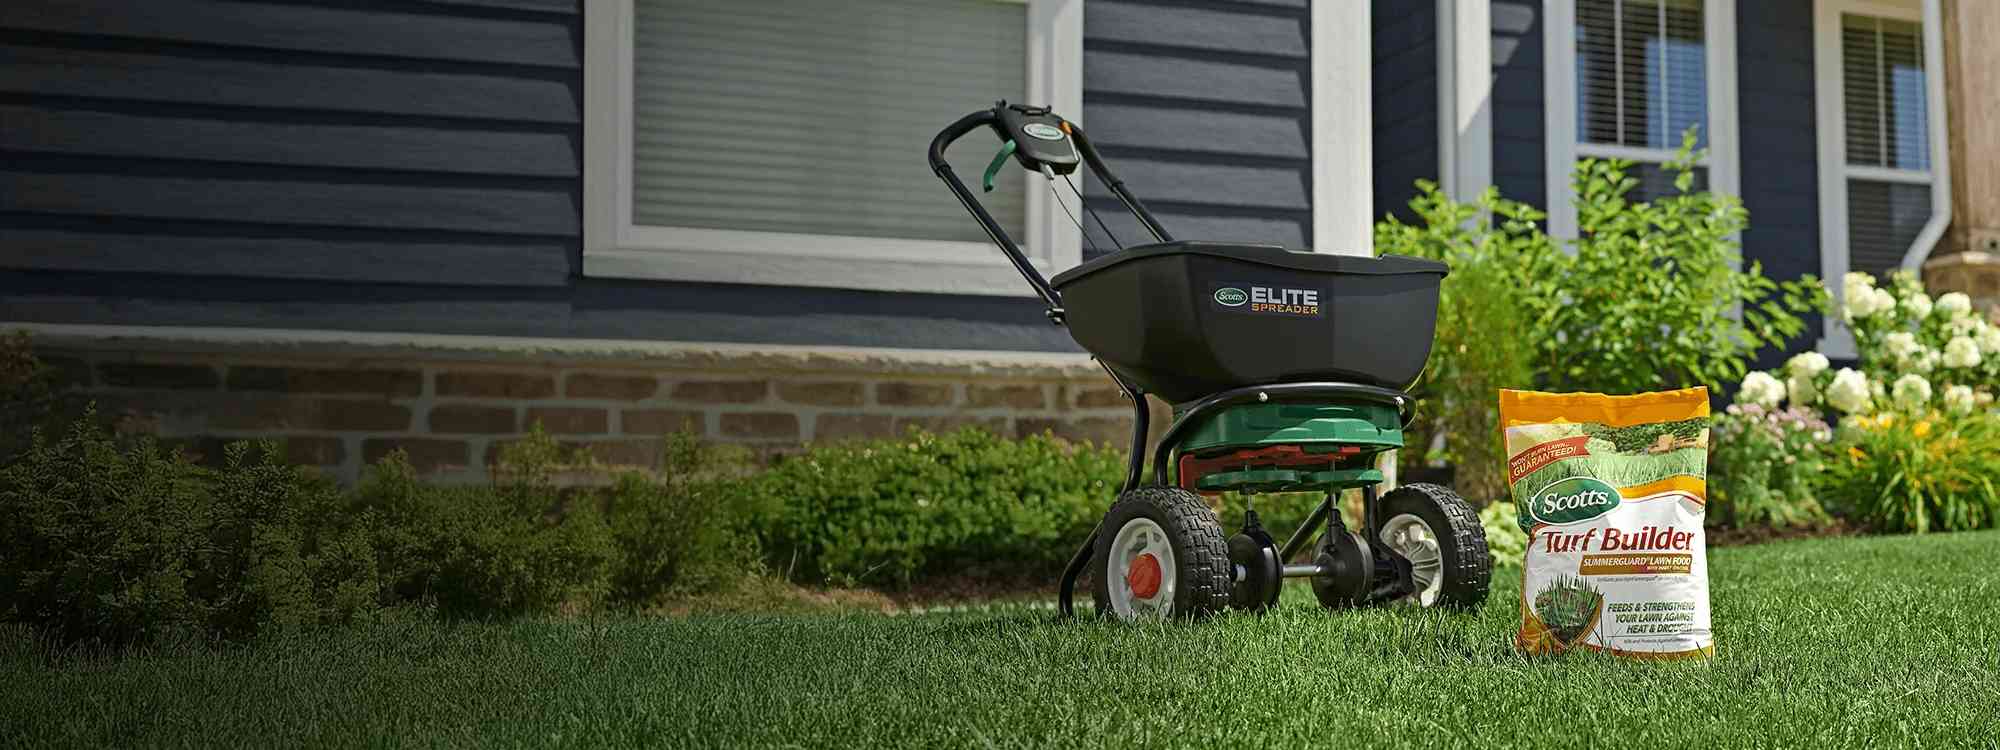
A broadcast spreader, like the Turf Builder EdgeGuard DLX, uses a spinning impeller disc to fling granules outward in a wide arc, typically covering a 5- to 6-foot swath per pass. This makes them efficient for large lawns because you cover more ground with fewer passes. However, the wide throw pattern means you need to overlap each pass slightly to avoid leaving untreated strips between rows.
Because the impeller throws product across a wide swath, broadcast spreaders typically use a lower dial number than drop spreaders for the same product. The wide distribution means each square foot receives product across multiple passes, so a narrower gate opening still delivers the correct rate. Check the product label; it will list the right setting for your broadcast spreader.

Drop Spreaders
A drop spreader releases product directly below the hopper in a narrow band matching the hopper width. This gives you precise control along edges, property lines, and garden borders where you don't want fertilizer landing on flower beds or sidewalks.
Because all material falls in a precise, narrow band directly below the hopper, drop spreaders typically need a higher dial number than a broadcast spreader for the same product. The narrow drop zone means the gate has to open further to hit the right rate per square foot as you walk. Drop spreaders are slower for applying product to large areas, but their precision makes them ideal for smaller or irregularly shaped lawns and for keeping product off garden beds, sidewalks, and property lines.


If you’re adjusting or calibrating the Scotts Turf Builder Classic Drop Spreader specifically, the Spreader Help guide walks through the exact micrometer-based procedure for that model.
Hand-Held Spreaders
Hand-held spreaders like the Whirl Hand-Powered Spreader are compact, crank-operated tools perfect for small patches and tight spots a walk-behind can't easily reach. A simple dial controls output, and the product label tells you the right setting, same as any other spreader.
One important thing to keep in mind: hand-held spreaders aren't labeled for use with every lawn product. They work well for lightweight granular products: grass seed on small bare patches, or light fertilizer applications on small lawns. However, many granular weed control, crabgrass preventer, and combination weed-and-feed products aren't recommended for hand-held spreaders. These products require precise, consistent coverage that a crank-operated tool can't reliably deliver: apply too much and you can damage the lawn; apply too little and the product won't work as intended. Before loading any product into a hand-held spreader, check the label. If it only lists settings for broadcast and drop spreaders, use one of those instead.


Need help finding the spreader settings for your Scotts product: Use the Scotts Spreader Settings Lookup Tool.
Understanding your settings gets a lot easier once you know what’s actually moving inside the spreader:
No, and this is a common misconception. Your lawn’s size determines how many passes and how much product you load in the hopper, not what number you set the dial to.
What does interact with your setting is your walking speed and pattern width. Walking faster means less product lands per square foot because the gate is open for less time over any given area. Walking slower has the opposite effect, concentrating more product in a smaller zone. Broadcast spreaders throw a wider swath, so your passes can be spaced farther apart. Drop spreaders require tighter spacing to avoid gaps.
The practical takeaway: always measure your lawn before you start spreading. If you have a 5,000-square-foot lawn and a bag rated for 5,000 square feet, use the dial setting printed on the label and apply the entire bag in even, overlapping passes. Don't eyeball coverage or try to stretch a bag across more area than it was designed for.

Calibration: confirming that the amount of product your spreader actually releases at a given setting matches what the label says it should release.
This general test-and-weigh method works for calibrating any spreader, Scotts or otherwise, and is worth running any time you want to confirm your spreader’s actual output rather than trusting the dial alone.
Step 1: Set the Dial to the Label Recommendation
Start with the setting your product’s label recommends for your specific spreader model.
Step 2: Load and Walk a Measured Test Area
Load exactly 1 pound of product into the hopper, then walk a measured 100-square-foot area (10 ft. By 10 ft.) at your normal pace.
Step 3: Weigh What’s Left and Compare
Weigh the product remaining in the hopper. The difference in weight tells you how much you actually applied over that 100 square feet. Compare it to what the label says you should be applying.
Step 4: Adjust and Retest if Needed
If your output is off, nudge the dial up or down and repeat the test until it matches the label rate.

If you own a Scotts spreader and want the exact factory-calibration check for your specific model (drill bit for broadcast models, micrometer for the Classic Drop Spreader), Spreader Help walks through both procedures step by step.
Scotts spreaders leave the factory calibrated and ready to go. But gate components can wear after a few seasons of use, which can throw off your output even though the dial number hasn’t changed, so it’s worth running the weigh-and-test method above once a year, or any time your lawn starts looking unevenly fed.
If you’re using a non-Scotts spreader with a Scotts product, calibrate before your first application, since you won’t have a Scotts product label’s setting number to start from.
Spring Applications
As cool-season grasses wake up from dormancy, spring is prime time for feeding while applying a crabgrass preventer like Turf Builder Halts Crabgrass Preventer with Lawn Food, ideally applied before soil temperatures hit 55°F. Never reuse a setting from a different product; crabgrass preventer and straight lawn food have different granule sizes and different label rates.
Fall Applications
Fall is your best window to overseed cool-season lawns and help grass store energy in its roots before winter by feeding it with Turf Builder WinterGuard. If you’re in warm-season grass territory, taper off nitrogen fertilizer applications as temperatures drop below 70°F.
Winter: A One-Season Exception
Your spreader doesn’t have to hibernate. The same spreader you use on your lawn can apply ice melt to driveways and sidewalks. See our guide Can You Use a Lawn Spreader for Salt & Ice Melt? for ice-melt rates and application tips.
Cool-Season vs. Warm-Season Grass
Cool-season grasses (fescue, bluegrass, ryegrass) do their best growing between 60–75°F, which is why spring and fall are their prime feeding and seeding windows. Warm-season grasses (bermuda, zoysia, St. Augustine) peak in summer heat instead, and some states like Florida restrict nitrogen and phosphorus applications during summer months, so check your local rules alongside the label.
Soil Type Adjustments
Sandy soil drains fast, so avoid applying a lawn care product right before heavy rain; you can lose product to runoff before it can work. Clay soil holds onto moisture and nutrients longer. Either way, the labeled rate is still your baseline; soil type is a timing consideration, not a reason to change the dial number.
Nobody plans to burn their lawn. But it happens, usually because the dial was off by a few numbers, the pace wasn't consistent, or the wrong setting was used for the wrong spreader type. And it's not just fertilizer: granular weed control and insect control products applied at the wrong rate can damage your turf or leave your lawn unprotected.
Too High: Fertilizer Burn
Too much lawn fertilizer concentrated in one area pulls moisture out of grass blades through osmotic stress, leaving yellow or brown streaks that follow your spreader’s path. If it happens, water the area deeply for several days to flush the excess fertilizer below the root zone, and reseed any patches that don’t recover.
The bottom line: always follow the label directions for use. Scotts products are formulated and tested at the rates printed on the bag. That's your most reliable guide.
Too Low: Thin, Uneven Coverage
Under-applying lawn food leaves your lawn hungry—expect pale, streaky growth and weeds moving into the gaps. If you’re seeding at too low a setting, expect thin, patchy grass seed germination too.
Walking Speed Matters Too
Even at the right dial setting, your pace changes how much product lands per square foot. Aim for a steady pace around 3 mph (roughly 4 feet per second); slow down and you’ll increase your rate in that spot; speed up and you’ll leave gaps.

If your spreader isn't flowing the way it should, whether clogged, sticking, or spreading unevenly, visit the Scotts Spreader Help Center for step-by-step support.
For the full walk-through of applying product with a broadcast spreader — perimeter passes, overlap, and pattern — see How to Choose the Right Spreader for Your Yard, which covers the complete technique once you’ve got your setting dialed in.

The numbers on a spreader dial control the size of the gate opening at the bottom of the hopper. A higher number opens the gate wider, letting more product flow through with each pass. The numbers are relative to each spreader model, so a "6" on one spreader isn't the same as a "6" on another.
No. Fertilizer and grass seed have different granule sizes and weights, so they flow at different rates through the same gate opening. Always use the setting listed on the specific product you're applying; never reuse a setting from a different product or an older version of a product.
No. This is a common mix-up worth clarifying. Drop spreaders typically use a higher dial number than broadcast spreaders for the same product. Because all material falls in a narrow band directly below the hopper, the gate has to open further to deliver the right application rate per square foot. Always use the setting listed for your specific spreader type on the product label.
Use the setting recommended on the product label, walk at a consistent pace (around 3 mph), and water lightly after applying a granular fertilizer. Those three steps cover the vast majority of burn situations, and they're all on the product label.
The dial setting stays tied to the product label recommendation, but your product choice changes by season. A fall fertilizer and a spring lawn food formula that includes a crabgrass pre-emergent are different products with different rates. Each product label lists the correct setting, so check before every application rather than relying on memory.